
Tapping a tree and making your own homemade maple syrup is a true American tradition and the ideal urban homestead activity. If you’re like us right now and have virtually no yard, you can still do this. All you need is access to a tree — if you don’t have one yourself, you likely have a willing neighbor.
Tapping a Maple Tree for syrup is easy. If you have a maple tree in your yard or next to a roadway, that is an ideal tree for maple syrup tapping. Trees with large branches and room to stretch them out give more and sweeter sap.
If you’d like to know more about the basics of how to tap a maple tree, see this prior post. Here, I will discuss the unique challenges of the urban environment and how to address those challenges.
Urban Homestead Maple Syrup Challenges
Unwelcome Attention
When tapping a tree in a high traffic area, you need to consider there will be lots of adults, kids, and dogs traveling by. Many will be curious and some might be mischievous. You want your sap collection system to be less accessible, more secure, and more discreet than the standard maple syruping operation. Here’s how we handled those challenges:
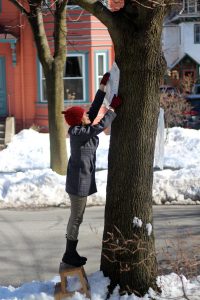
- We placed our taps high on the tree (between 8-10 feet) so it would be hard for anyone to disrupt them. We know that higher taps are correlated with lower sap volumes. (They do produce sap with higher sugar content, but not enough to make up for the loss in sap.) We took a hit on our sap production, but thought that was preferable to the unknown meddling.
- We also came up with a maple sap collection system that didn’t invite tennis balls, was very durable, kept the debris out wonderfully and was easy to work with. It was also more affordable than the standard bucket and bag systems that we saw. We based it on an outdoor camping product called the Smart Bottle. More details on the Smart Bottle collection system below.
Tree Type
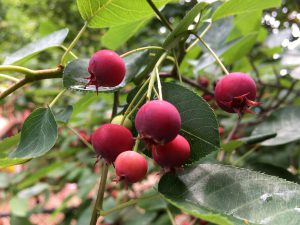
In an urban situation your access to trees is likely limited. You’re lucky if you have a Maple, and the chances of having an actual Sugar Maple are pretty slim. Don’t despair! All types of Maples can be tapped, and even some non-Maples such as Birch and Black Walnut. Other tree types may have lower sugar content, meaning you will need more sap to make the same amount of syrup. However, other factors contribute to sap yield and sugar content, including how large the crown of the tree is, how much sun the tree gets, how cold the last winter was, and where you tap on the tree. Here’s a list of 27 trees that can be tapped.
Consider urban homestead maple syruping a culinary adventure. Different tree types produce syrup with different flavors, allowing you to diversify your maple syrup tasting palette. I’d love to try some birch sap syrup after reading this tantalizing description.
Our tree is a Norway Maple. These are very common in urban areas of the Northeast, since they thrive in urban conditions. A little too well, in fact, since now many consider them an invasive species. Someone asked why I would bother tapping this “trash” tree, but I have read a number of success stories and we were pleasantly surprised with the quantity of sap that came pouring out of this tree.
Processing
It typically takes 40 gallons of sap to make 1 gallon of syrup. Evaporating almost all of the sap you collect will take time and resources. It can cost $55 per gallon in energy costs. It can also create some problems for your home if you don’t do it right. (I’ve heard stories of humidity causing walls to peel and a sticky residue covering every inch of the kitchen.)
If you’re like us and the outside firepit isn’t an option, we have some recommendations for you. We tried many methods and identified the most energy-efficient method in this post. The most important thing to remember for in-home maple syrup production is to not boil too much too fast or you will create problems in your kitchen.
Standard Maple Sap Collection Options
There are plenty of options, and you can even make do with items you have on hand, but maple syrup collection systems generally fall into two categories:
Bucket Systems
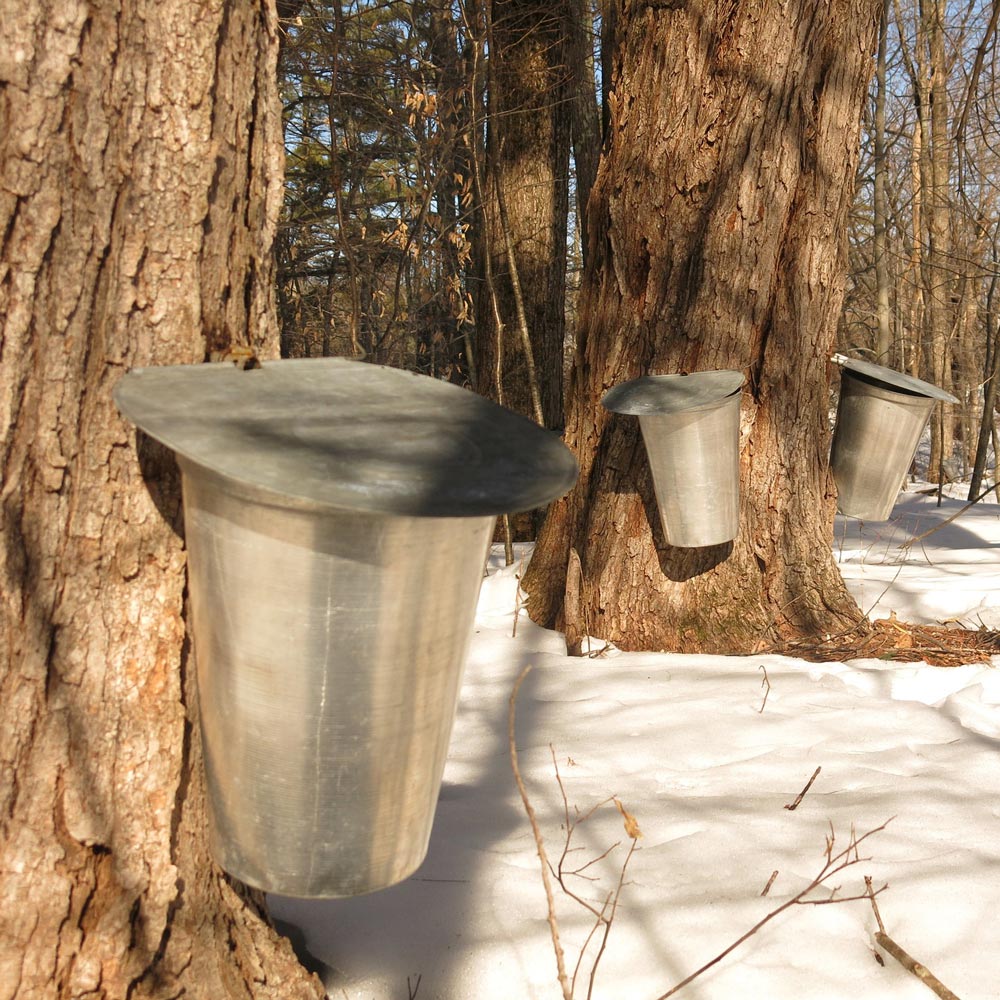
• A little precarious?
• An attractive target for vandalism?
• Why so expensive?
Bag Systems
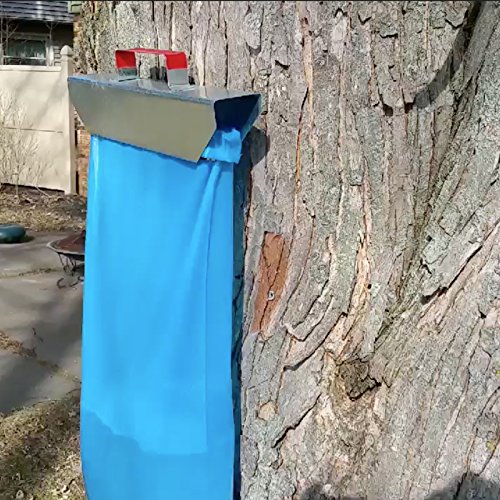
• Overly complicated?
• Overpriced?
• (And so… blue?)
We didn’t think either of these systems were going to serve our needs, so after a bit of searching and brainstorming we came upon the Smart Bottle.
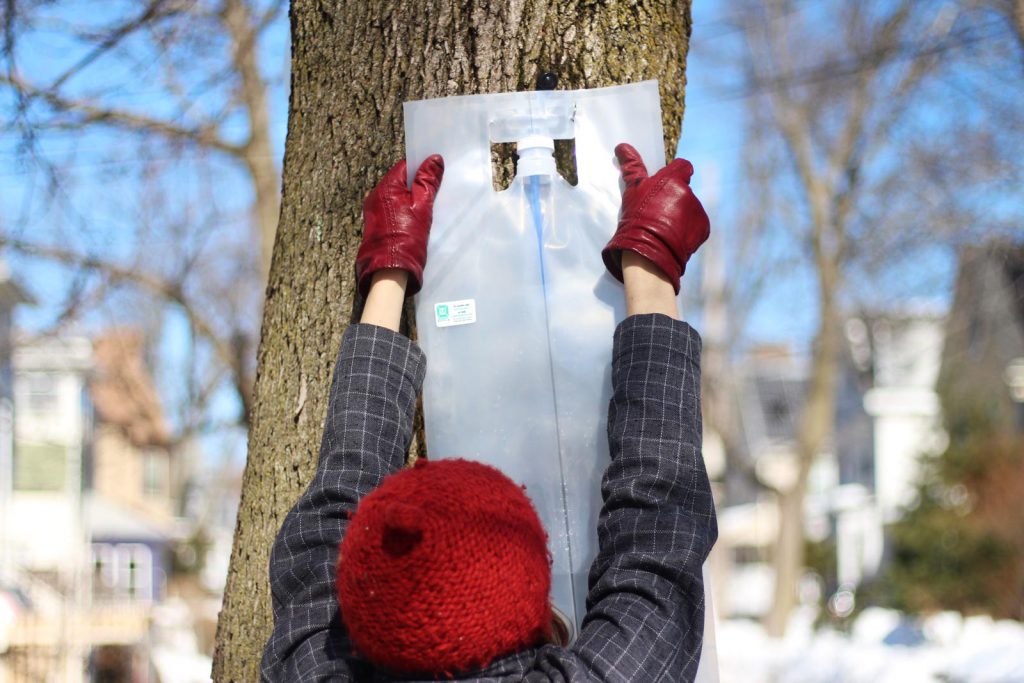
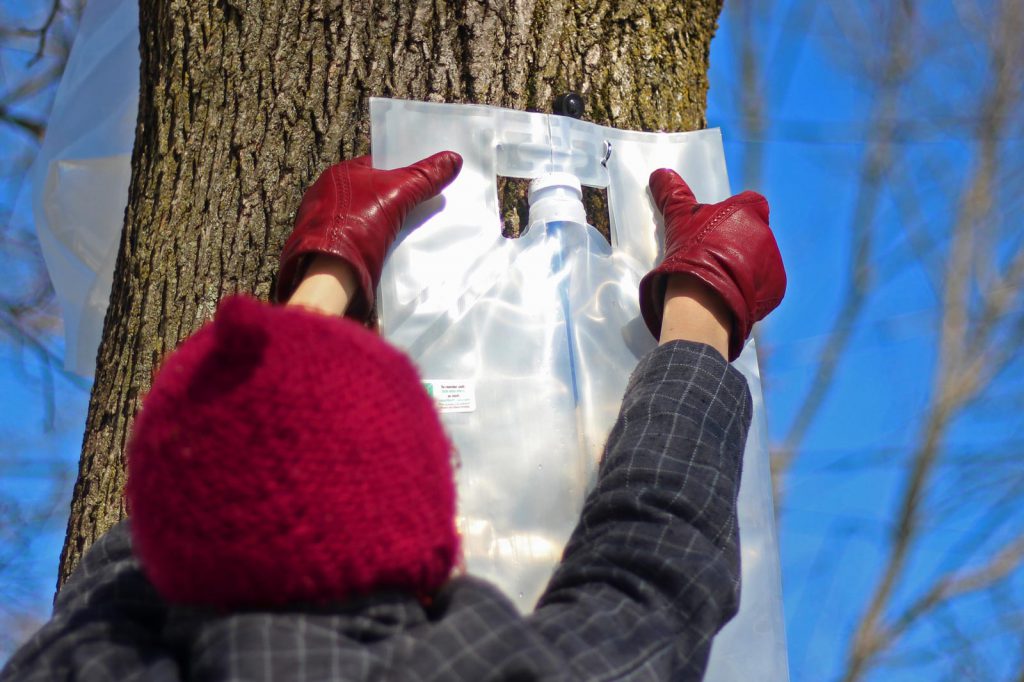
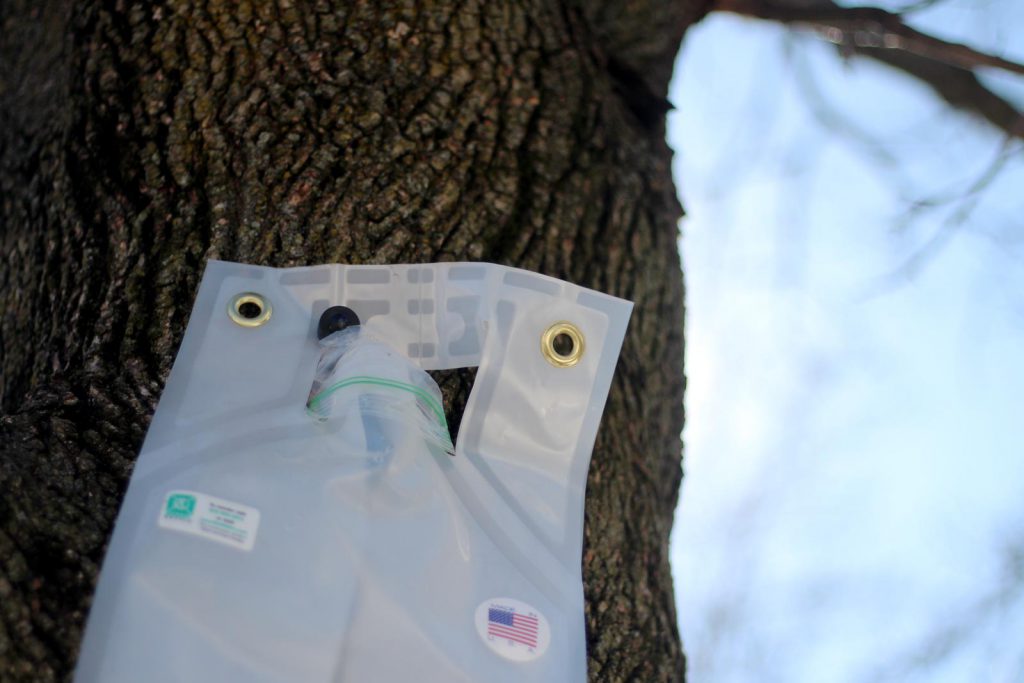
The Smart Bottle Sap Collection System
Meet our new friend, the Smart Bottle. It’s a simple clear bag that is very durable for outdoor activities. It can hold quite a lot of volume and lays flat when it’s empty. It also has a handle on top and bottom, which makes it easy to pour when full of heavy sap. The price is great. These commercial 2 1/2 gallon bags are only $3.50 each. You can also get 5 gallon bags for slightly more so you don’t have to empty them as often. We tried both sizes, as well as the more durable (and expensive) camping bag option with grommets in the corners. We thought the more expensive camping bag option was unnecessary as the commercial version was plenty tough. The 5 gallon was nice on fast-flowing days, but not necessary.
Using these for sap collection was pretty simple. We came up with two ways of connecting the bags to the taps so no debris would get in:
Version #1 — Bottlecap Shield
This works best when you have taps with tubes, like these. If you aren’t using tubes, you may be able to arrange things so the spout will go through the hole in the bottlecap, but there may not be enough space between the tree and the spout hole for the plastic cap. Version #2 — Plastic Baggie Shield is more flexible for this situation.
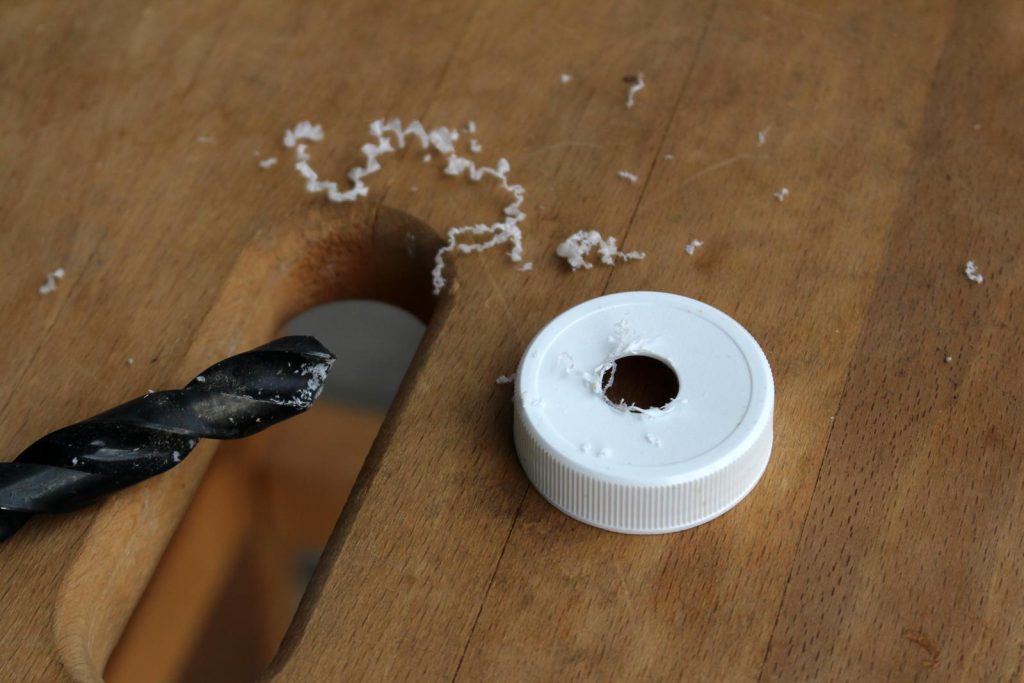
1. Use a drill bit slightly larger than your tubes to drill a hole in the bottle cap.
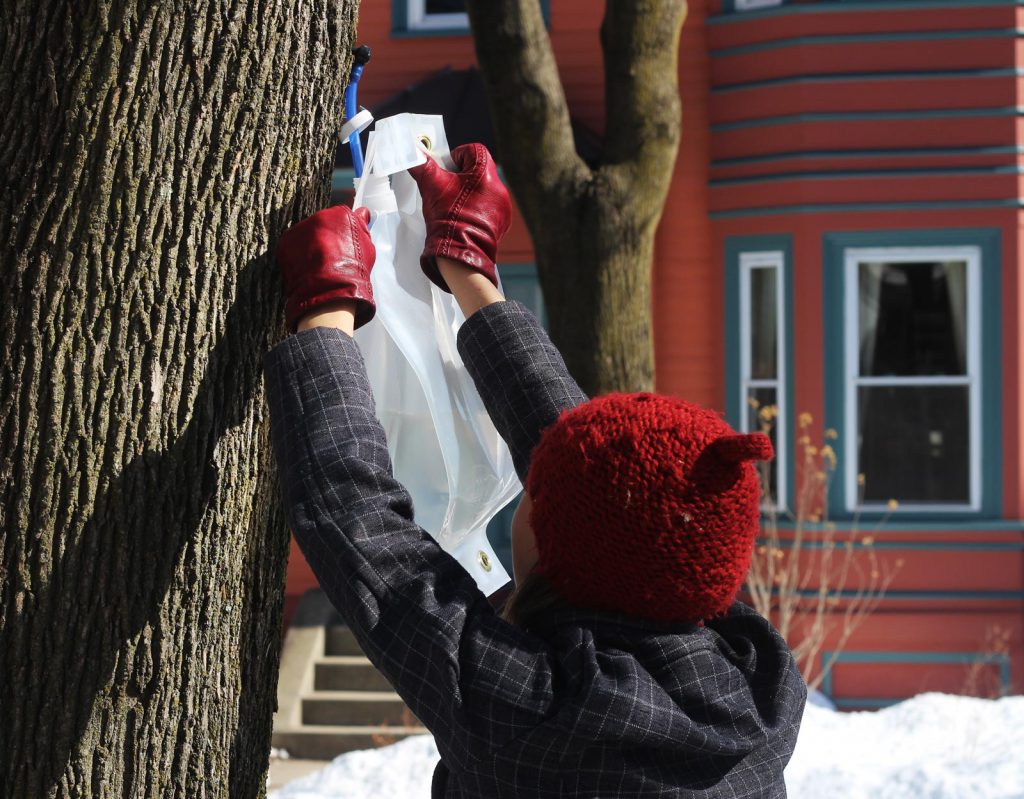
2. Slide the cap and bag onto the tube. (See this post for how to tap the tree.)
3. Secure bag on tap and/or on a hook. You can screw an additional hook into the tree to secure the sap bag. We found we couldn’t hang the bag on the spout with the bottlecap because there wasn’t enough space between the tree and the tap spout to accommodate the radius of the cap. That’s why we hung it on the additional hook. With the other method we were able to hang the bag over the tap without putting in an extra hook
Version #2 — Plastic Baggie Shield
A plastic baggie provides a flexible shield to keep debris out of your sap collection bag. These portion control size baggies work well.
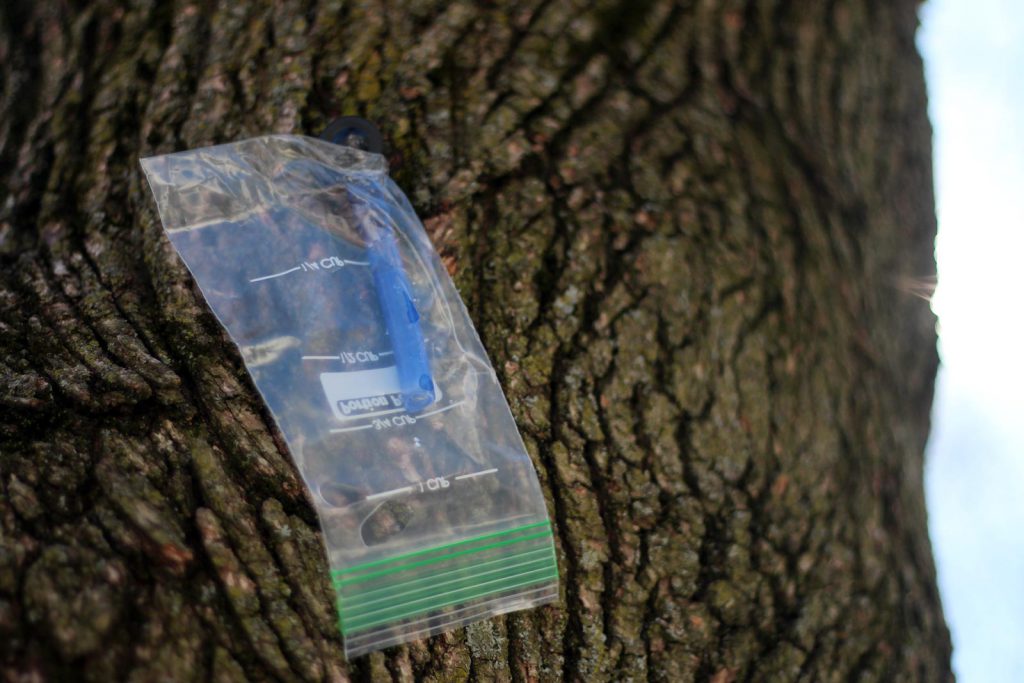
1. Cut a hole in the corner of the baggie and slip it onto the tube or spout.
2. Feed tube or spout through the baggie hole while you hang bag on spout. You can use this method with or without a tube.
Good luck collecting your sap!
Did you try collecting sap on your urban homestead? Did you run into any issues with or come up with any solutions for the urban environment? I’d love to hear about it in the comments!
Sources of Inspiration
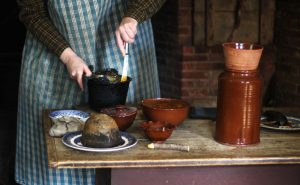
- Maple Days at Old Sturbridge Village
- Ox-Cart Man by Donald Hall and Barbara Cooney
- Little House in the Big Woods by Laura Ingalls Wilder