This blew my mind: “Trees growing along roadsides, in lawns, or in open settings, where their crowns have grown large without competition from other trees, generally produce more and sweeter sap than forest-grown trees,” according to Penn State. I had been long awaiting the day when we owned land with some woods so we could partake in that truly American maple sugaring tradition. Pure maple syrup is essential to an authentic breakfast experience. It’s also my go-to baking sweetener, since unlike white sugar, it has a number of health benefits.
Last fall Urban Husband pointed out that we had been living underneath the canopy of a big, beautiful maple tree for 5 years. Why be all-or-nothing about the maple syruping? Why not try it now and get a little experience? He was right.
Why Bother Tapping One Tree?
- Tapping a maple tree is EASY and doesn’t harm the tree if done properly —many have been tapped for over 100 years.
- That big, beautiful yard maple is actually BETTER than the woods maple for producing maple syrup. An open grown tree is capable of producing one half gallon of syrup in a season vs. half that amount for a woods maple.
- It provides the SATISFACTION of bringing your own pure maple syrup from tree to table through this remarkable collaboration between man and nature.
However, a small-scale maple syrup operation could produce the most expensive half gallon of syrup you ever had if you don’t watch the supply and energy costs. We kept the supply costs down to about $25. (Supplies can be used year after year.) We also identified the most efficient way of processing small batch maple syrup. (More to come on this.)
What Supplies do I Need for Maple Sugaring?
Tree
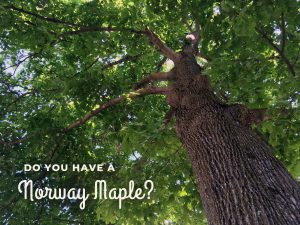
Sugar Maples are best, but any Maple will do. The others just have slightly lower sugar concentration so you’ll get a little less syrup. In fact, you can tap many other types of trees including Birches, Black Walnut, and Black Walnut. More specifics on trees you can tap here.
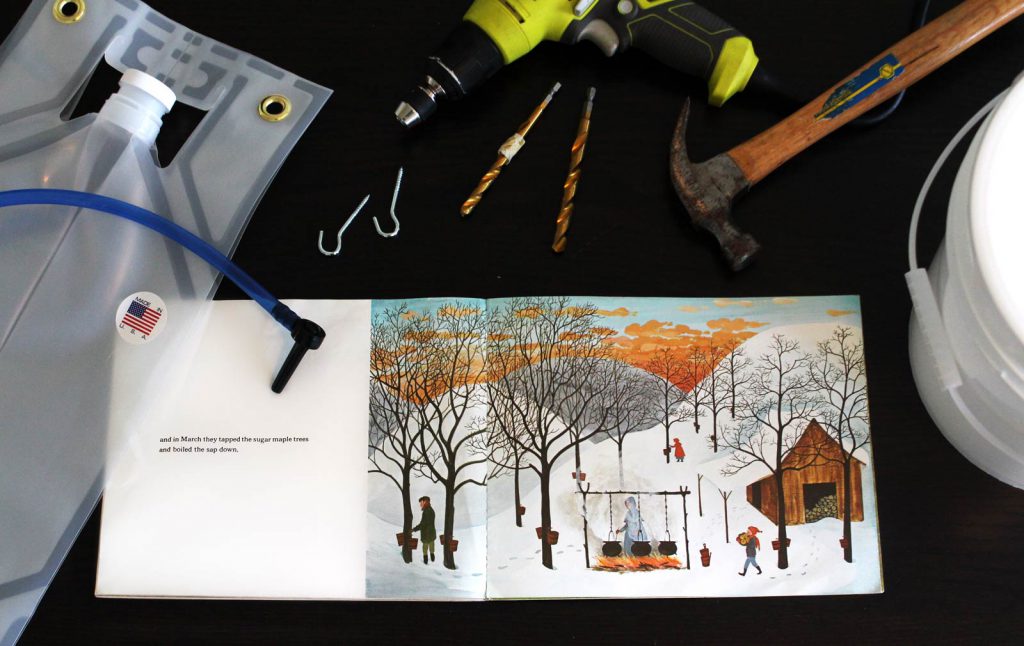
Drill with Bit
The bit should be the same size or slightly smaller than the diameter of your spouts, so when you tap it in, the spout will be flush with the wood.
Hammer or Mallet
This is for light tapping — nothing heavy duty necessary.
Spouts
You can get 5/16” and 7/16” diameter spouts. Go for the 5/16” as it gets the same results with less damage to the tree. If they stock spouts/spiles/taps in your local hardware store (unlikely in an urban setting) that will be your lowest cost option. They’re pretty cheap parts, so costs are driven by shipping. We ordered these from Amazon.
Sap Collection Containers
You can use anything food-grade that holds a gallon or two, including milk jugs or our favorite, Smart Bottles. Main considerations: 1.) You want it to be covered so debris doesn’t get in. 2.) It should be strong enough to withstand the occasional nosey squirrel. 3.) It should be simple enough to empty the contents frequently.
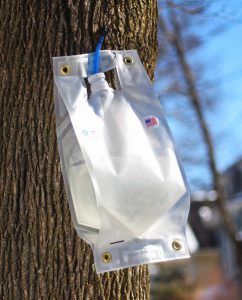
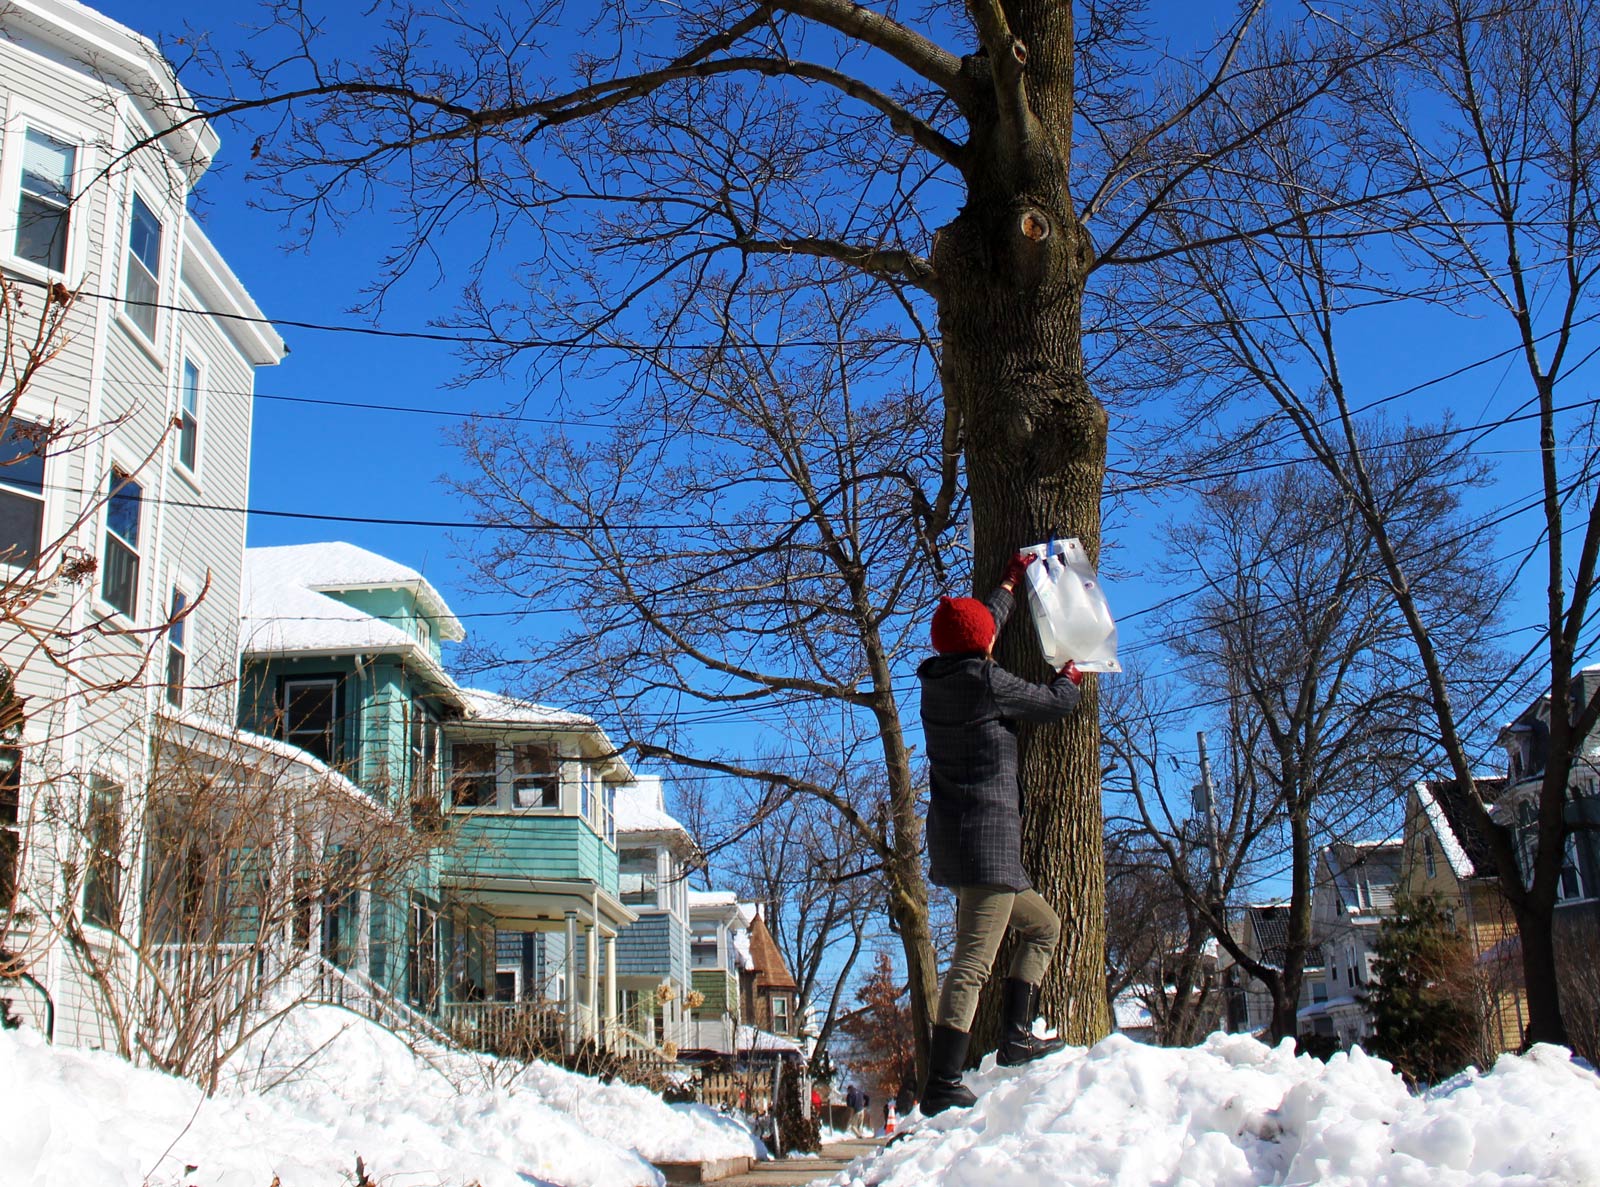
There are two main sap collection options: bucket systems and bag systems. For our highly trafficked location we wanted something discreet and secure. The bucket systems seemed a little too attractive as a target, and the bag systems seemed both overpriced and overcomplicated (and very blue.) We found a pretty sweet alternative — Smart Bottle makes durable, food-grade, BPA-free, large capacity water bottles for camping and the outdoors. This one is very low cost and works great. See more details on how we assembled our sap collection here.
Optional Hook for Sap Collection Container
Hanging your sap collection container on the spout is your simplest option. If you want to further secure it you can install a metal hook into the tree like we did.
Optional Tubing
Depending on what you use for a sap collection container and how you hang it, you may want some tubing to run from the spout to your container for added flexibility. You can also run tubing from multiple spouts to one container.
Sap Storage Containers
If you don’t process sap immediately as you collect it you will need to store it. Keep the sap cool, so it doesn’t spoil, in food-grade buckets outside. We got free food-grade buckets from our local grocery store bakery. (They don’t all have these, so call ahead to check!)
When Should I Tap My Maple Tree?
You want to tap when you see at least 3 days with temperatures above freezing during the day and below freezing at night. Ideal temperatures for collecting sap are around 40 degrees during the day and around 20 degrees at night. This pattern sucks sap up into the branches during the freezing nights and releases it during the day. Make sure to do your actual drilling while the temperature is above freezing so as not do as much damage to the tree. Typical tapping times run from mid-February to mid-March.
Where Do I Place My Maple Taps?
The south side of the tree is most commonly recommended for tapping. Tapping beneath a large branch or above a large root is also recommended for better flow. Lower taps provide greater yields than higher taps. Don’t worry too much about the ideal location for your taps, because each year the location needs to be moved at least 6″ horizontally or 12″ vertically. Over time you will rotate around the whole tree. Just look for healthy wood to drill into.
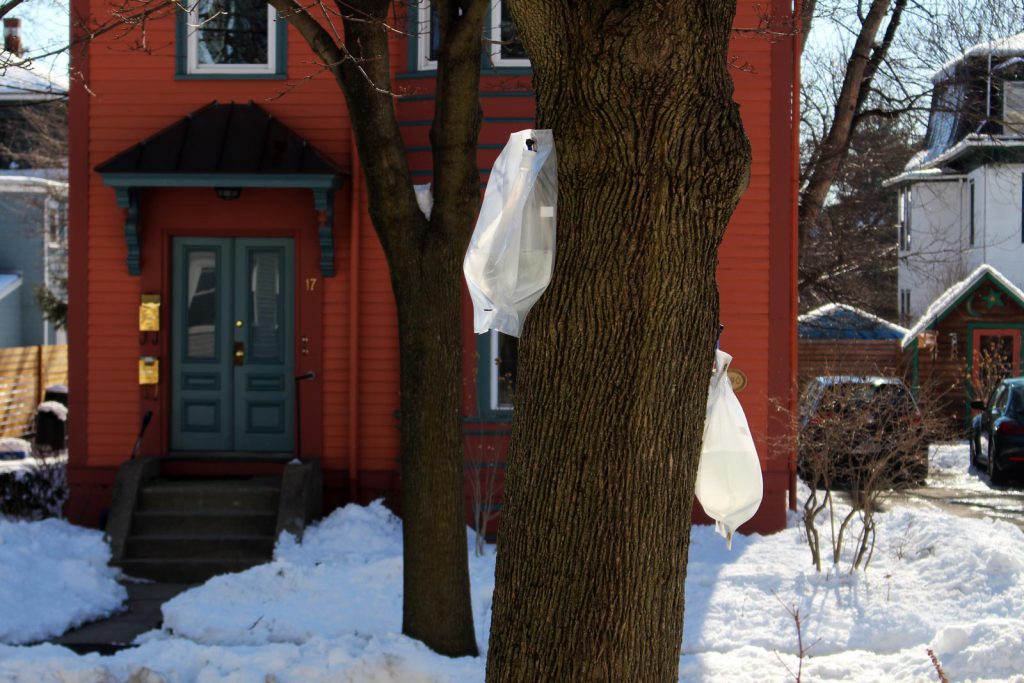
We placed our taps relatively high (about 10 ft.) knowing this would produce slightly lower volume. (Our tree is in a high traffic area and we didn’t want any dogs or kids poking their noses in them.) We placed one tap on the north side under a big branch and one on the south side. You can see the tree is much wetter and darker on the north side than the south side. The southern tap has produced about double the amount of sap as the northern tap!
How Do I Tap My Maple Tree?
1. Assemble supplies and plan your taps
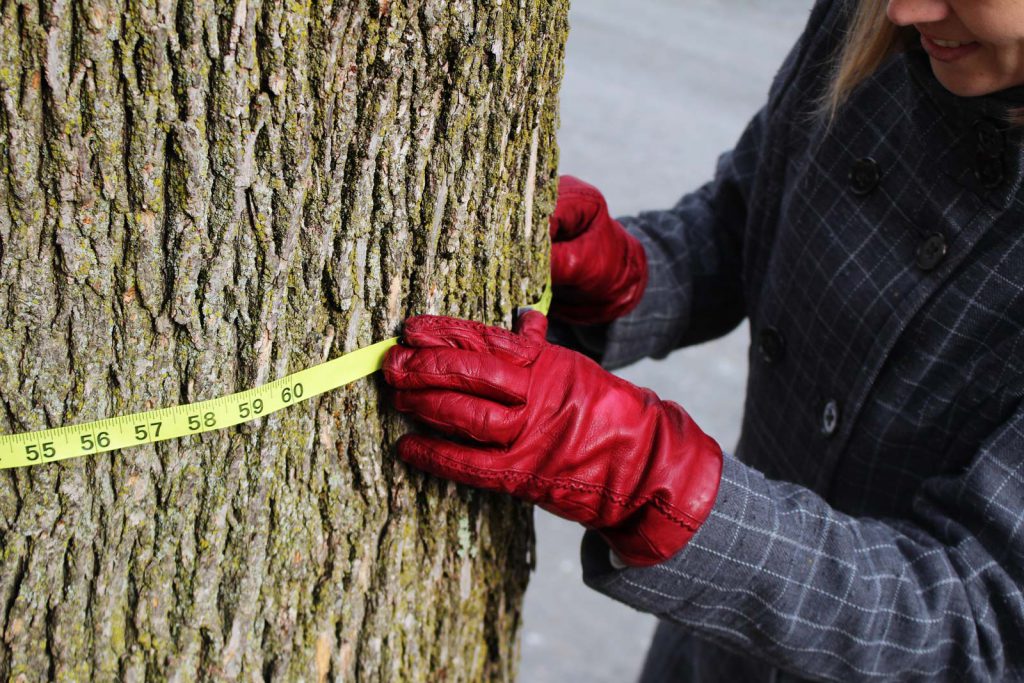
- Measure your tree to determine how many taps you can place, and determine where you will place them. A tree with diameter 10-20 inches can sustain 1 tap, 20-25″ can sustain 2 taps, and 25″ and over can sustain 3 taps, according to University of Maine.
- Put your sap collection system together. (More on how we assembled our awesome Smart Bottle system to come in next post.)
- Mark your drill bit with some tape at 1 1/2″ so you don’t drill too deep.
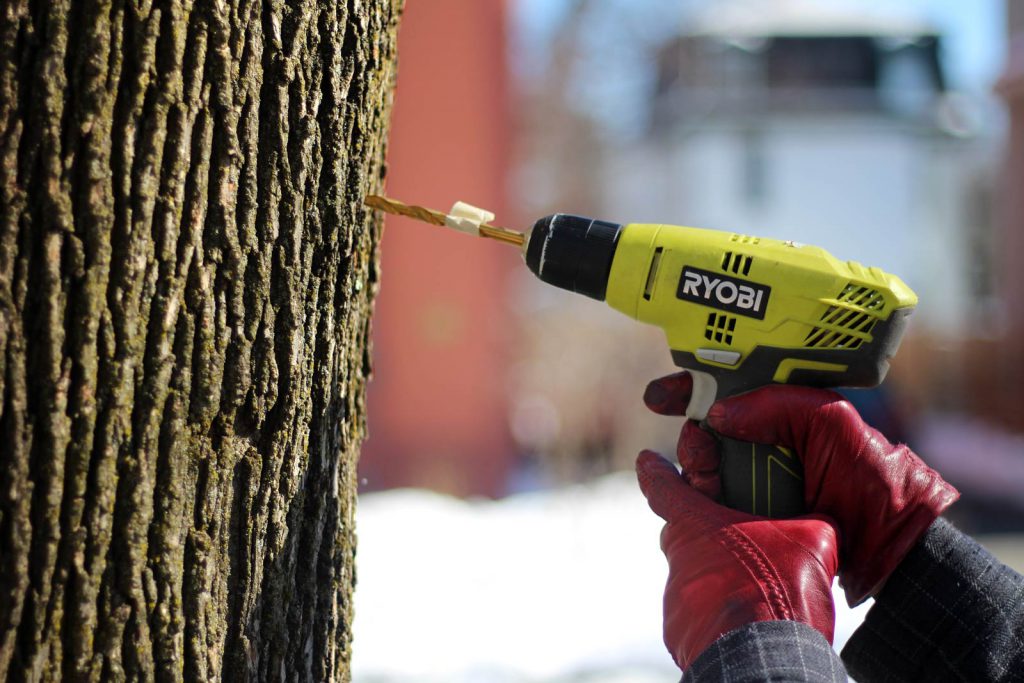
2. Drill a hole
Use a drill bit that is the same diameter or slightly smaller than your spout. Drill in 1 1/2”. Some say drill straight so it will be perfectly round and flush with spout. Some say drill at a slight upwards angle so sap drips out easier. We put tape on our drill bit to mark 1 1/2” so we would know when we had gone deep enough and drilled at an ever-so-slight upwards angle. If the weather is right, you should start seeing sap drip immediately.

3. Tap spouts in hole
Place spout in hole and lightly tap a few times until you hear the thud of impact. You want to embed the spout into the wood, but not drive it too hard or far, as to damage the tree or cause leaks around the spout.
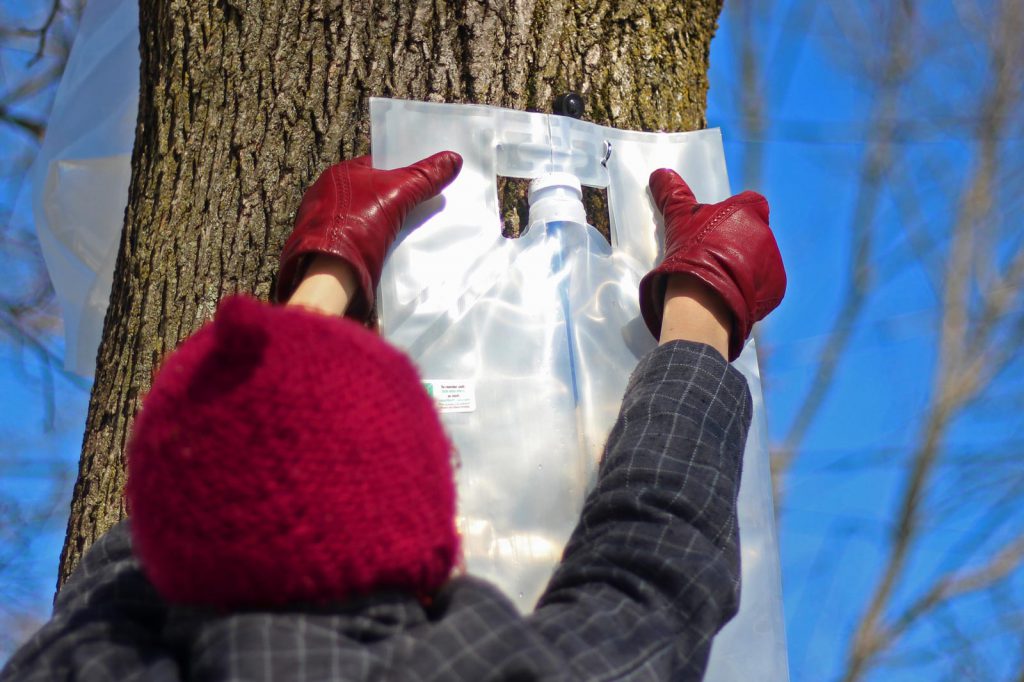
4. Secure collection container
Hang your container on the spout if feasible, or place a hook in the tree by twisting it in with your hand to hold the container.
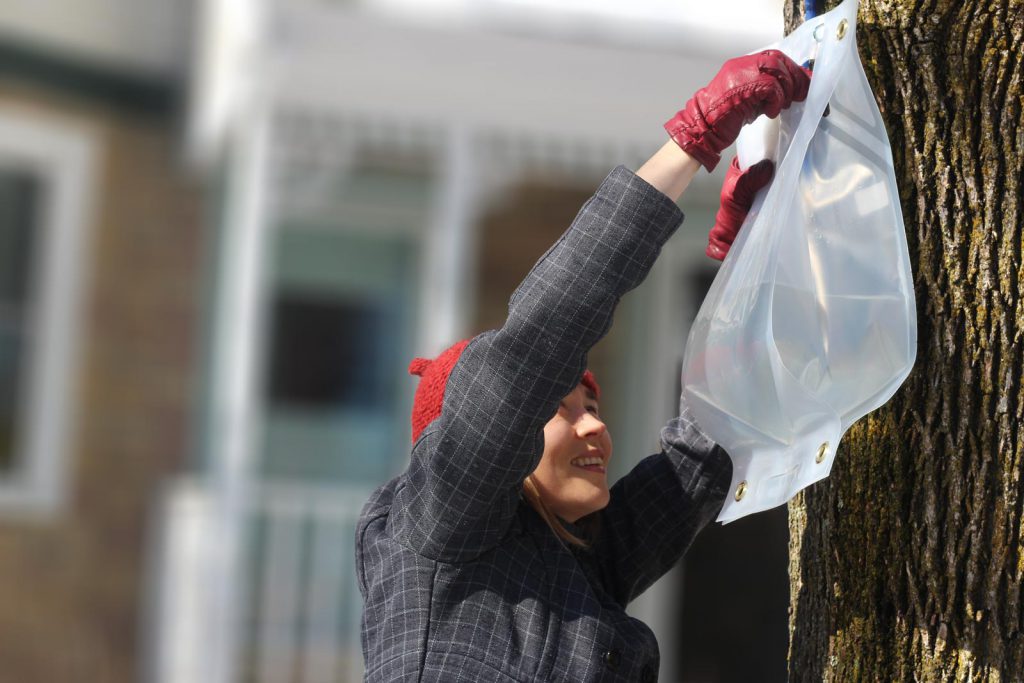
5. Collect sap
Empty your sap collection containers into your sap storage container as often as they begin to fill up. This may be a twice daily or every few day activity depending on your weather and container size. Be sure not to let them overflow and waste that precious sap! You can collect sap until buds start to come out on the trees and the sap develops an off flavor.
6. Process sap into syrup
Processing sap into syrup can take a lot of time and energy resources. 40 gallons of sap need to be boiled down to make 1 gallon of syrup. If you don’t have outdoor space and access to free or cheap firewood, you can do this in your home kitchen. Find recommendations here for the best, most energy-efficient way of processing your maple syrup and tips and tricks for reducing cost, minimizing mess and reversing any mistakes.
Don’t forget to taste and enjoy the fresh maple sap! It is a refreshing and nutritious beverage!
What are you waiting for? Get outside and partake! Know a friend who has a maple tree? Share this with them!
Sources of Inspiration
- Ox-Cart Man by Donald Hall and Barbara Cooney
- Maple Days at Old Sturbridge Village
- Little House in the Big Woods by Laura Ingalls Wilder
